The Process of Dye Penetrant Inspections
July 13, 2022
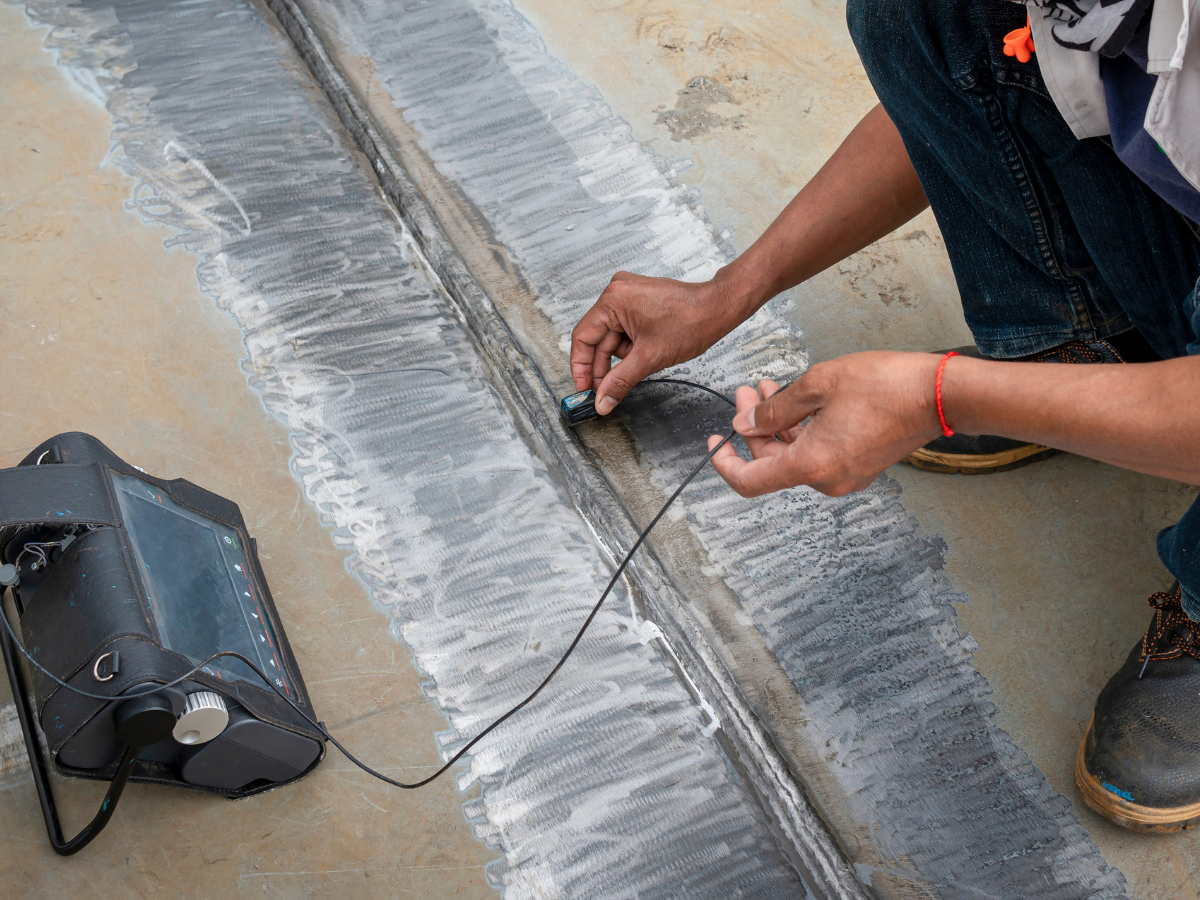
Liquid Dye Penetrant inspections can often be performed on-site and is a form of non-destructive testing (NDT).
Dye Penetrant testing is a method used to inspect surfaces and identify any defects. It is a common form of inspection in non-destructive testing and is highly effective at determining whether a weld is strong or faulty.
So what is dye penetrant testing? How does it work and what is the process?
First, dye penetrant testing is often also referred to as liquid penetrant or liquid dye penetrant. It is considered a non-destructive testing (NDT) method because a Level II Inspector
can perform this type of testing and make important determinations about the material without causing any damage or alterations to the testing subject.
To perform dye penetrant testing the inspector uses liquid or dye to apply to a surface. The liquid dye is carefully spread throughout the surface and as that takes place the inspector will look for any areas in which the dye may penetrate any cracks and reveal any discontinuities on the surface of the material.
Non-porous materials such as metal, ceramic, and plastics are commonly inspected using dye penetrant testing. Specifically, in these materials inspectors are working with welds, forging, bars, pipes, castings and plates. With dye penetrant inspectors are looking for leaks, joint flaws, fractures, porosity, incomplete fusion and of course, cracks.
There are many pros to dye penetrant testing:
- Inexpensive
- No damage done
- Simple to perform - mostly onsite
- Flaws are easily found and identify dimensions of defects clearly
- Testing process is versatile and flexible with various types of materials
- Quickly covers large areas
Of course, it's important to keep in mind that dye penetrant testing reveals surface level findings. It can only be performed on non porous and clean material (without rust or paint). While dye penetrant testing is non invasive and doesn't cause any damage, chemicals are still involved. Dye penetrant testing can be dangerous, which is why only experienced professionals should perform dye penetrant testing.
Steps of Dye Penetrant Testing
1. Clean the Surface
The material must be cleaned well so the liquid dye can penetrate any possible flaws. Any dirt or film will be removed during this step with a wet rag, solvent or perhaps a grinder or wire brush.
2. Apply the Dye Penetrant
The liquid dye penetrant is then applied by either spraying or wiping onto the surface. The inspector then waits a certain amount of time for the dye to dry, this is called the “dwell period”.
3. Remove Excess Liquid Penetrant and Apply Remover
The inspector will remove any extra liquid dye penetrant. Then the remover is applied with a clean, dry rag.
4. Apply Developer
Once the excess penetrant is wiped away and the remover is applied, a white developer is applied next. The developer will reveal any dye that has penetrated defects and make them visible to the naked eye.
5. Inspection
At this time the inspector will then thoroughly inspect the material. All surface level defects will be visible and noted.
6. Clean the Surface
After inspection takes place the material is ready to be cleaned to return it to its original condition before testing.
Dye penetrant testing is an NDT inspection method that is reliable in discovering flaws in non-porous surfaces. It is inexpensive, simple, and relatively fast to perform.
Fun Fact: Dye penetrant testing was first used in the railroad industry early on in the 20th century. Of course, the
liquid penetrant process
has been developed and perfected over the years.
If you are in need of dye penetrant testing or any other
NDT service,
Steel City NDT
is equipped with highly reputable and experienced inspectors with the proper resources to successfully complete any job.
Call today
to learn more about Steel City and its many specialties!
You might also like


